How to setup reverse proxy with nginx
Deploying a NodeJS app is easy if you follow the steps the right way. In this blog, I will show how to serve your NextJS, Strapi CMS or any other full stack or API server using Ubuntu Linux OS virtual machine.
In order to follow around, you will need a virtual machine with Ubuntu OS installed on it. You can use AWS EC2 instance to follow along. Also you should be able to SSH into the instance using private key.
Step 1:
Step 2:
Update all installed packages using following commands:

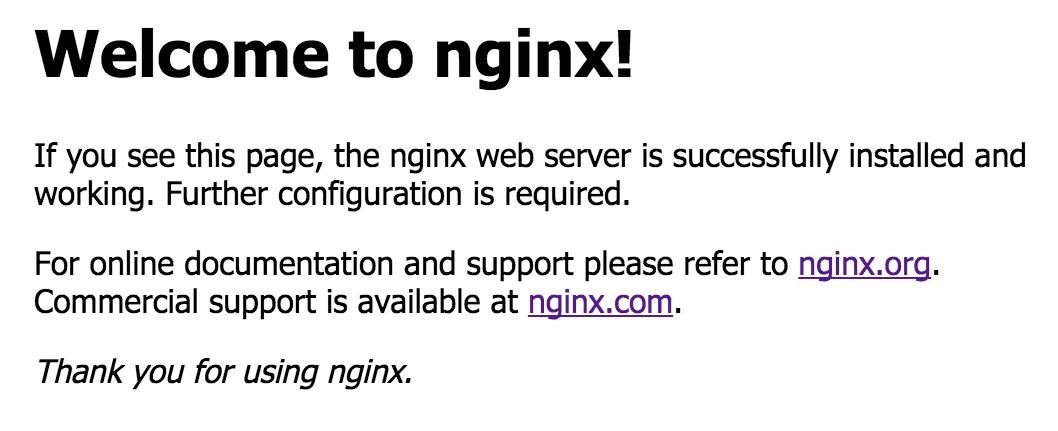
Before you verify that nginx is serving default webpage, you have to allow incoming traffic to port 80(HTTP) and 443(HTTPS) for your VM.
Once you have added firewall rules, you can go to browser and type:
http://your-ip-address

Step 3:
Install Node runtime environment with nvm package using following commands:
To install specific version of node, use the following command to install it:
Check node and npm version using following command:
Step 4:
Clone your repo and run the project with pm2:
Install pm2 using the following command globally on your machine:
Clone your repo and install dependencies:
If your app only needs npm run start then you can use following command to run the app:
But, if you app needs both npm run build and then npm run start then you should first build the project with npm run build then use the command above.
Step 5:
Finally, you can test that your project is running by visiting http://your-servers-ip-address:3000 (Assuming you have allowed incoming requests to port 3000). Now, we can proxy requests to your main IP address without including port in the request, this will be done by setting up proxy with nginx. For that you can use following commands to get it done:
Add following code in the vi editor:
server {
listen 80; # Port to listen on (80 for HTTP)
server_name server.yourdomain.com; # Replace with your domain or IP address
location / {
proxy_pass http://localhost:3000; # Backend server
proxy_set_header Host $host;
proxy_set_header X-Real-IP $remote_addr;
proxy_set_header X-Forwarded-For $proxy_add_x_forwarded_for;
proxy_set_header X-Forwarded-Proto $scheme;
}
}
Press ESC key and then type :wq! to save and exit vi editor.
Now run following commands to confirm nginx configuration and reload nginx service. If your configuration is good, it will should following:
nginx: the configuration file /etc/nginx/nginx.conf syntax is ok nginx: configuration file /etc/nginx/nginx.conf test is successful
Before you access the server, you need to do one last thing, which is to setup A record for your domain. You can do this in your DNS management panel where you bought your domain (Godaddy, AWS Route 53, Namecheap etc). Add A record with subdomain as server and value as IP address of your server.
You are good! You can visit your domain: http://server.yourdomain.com.
Happy deploying!